Step 3: Assign your security group to the relationship
An approved relationship grants nobody access until a security group is assigned to it. Assign your group and all six roles in Partner Center.
Written By The Lemhi Product Team
Last updated 10 days ago
This is for the MSP admin after the client has approved. When you finish, the relationship is Active and its roles reach the account you use for Lemhi. This step doesn't need the client.
An approved relationship grants nobody access until you assign a security group to it. Until then Partner Center shows a yellow warning icon on the relationship, and connecting the client in Lemhi shows "Microsoft declined this connection: the GDAP relationship with this client has no active role assignments."
Before you start
The client approved the request in Step 2.
You have the security group from Before you connect a client.
Steps
In Partner Center, go to Customers > select the client > Admin relationships > open the new relationship.
Under Security groups, select Add security groups and pick your group.
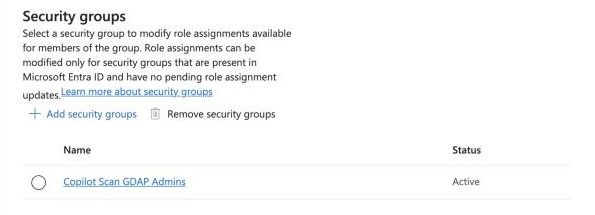
Select Next, then select all six roles for that group.
Select Save. The status shows Pending, then Active after about 30 seconds (refresh the page).
Next
Step 4: Import the client into Lemhi Engage
Related
Was this helpful?
Still need help? Ask the team