Deploy with Datto RMM
Create a per-client Datto RMM component that runs as LocalSystem, test it with a quick job, then schedule it on the client's site.
Written By The Lemhi Product Team
Last updated 10 days ago
For technicians on Datto RMM. When you're done, the client has its own Component, a PowerShell script that runs as LocalSystem, running as a daily scheduled job against the client's site.
Before you start
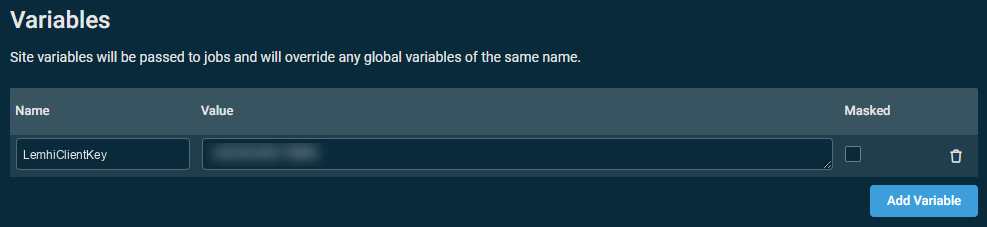
The client's script. In Engage, open the client, then Shadow AI Usage under Compass, then the Deployment tab. Expand Deploy with your RMM and click Copy script. It already carries this client's key, so paste it unchanged. This guide keeps one copy per client. If you'd rather keep one script, store each client's key in a client-level RMM variable and put that variable in place of the
$ClientKeyvalue. The full script and what it does: Deploy the extension with your RMM.
Create the component
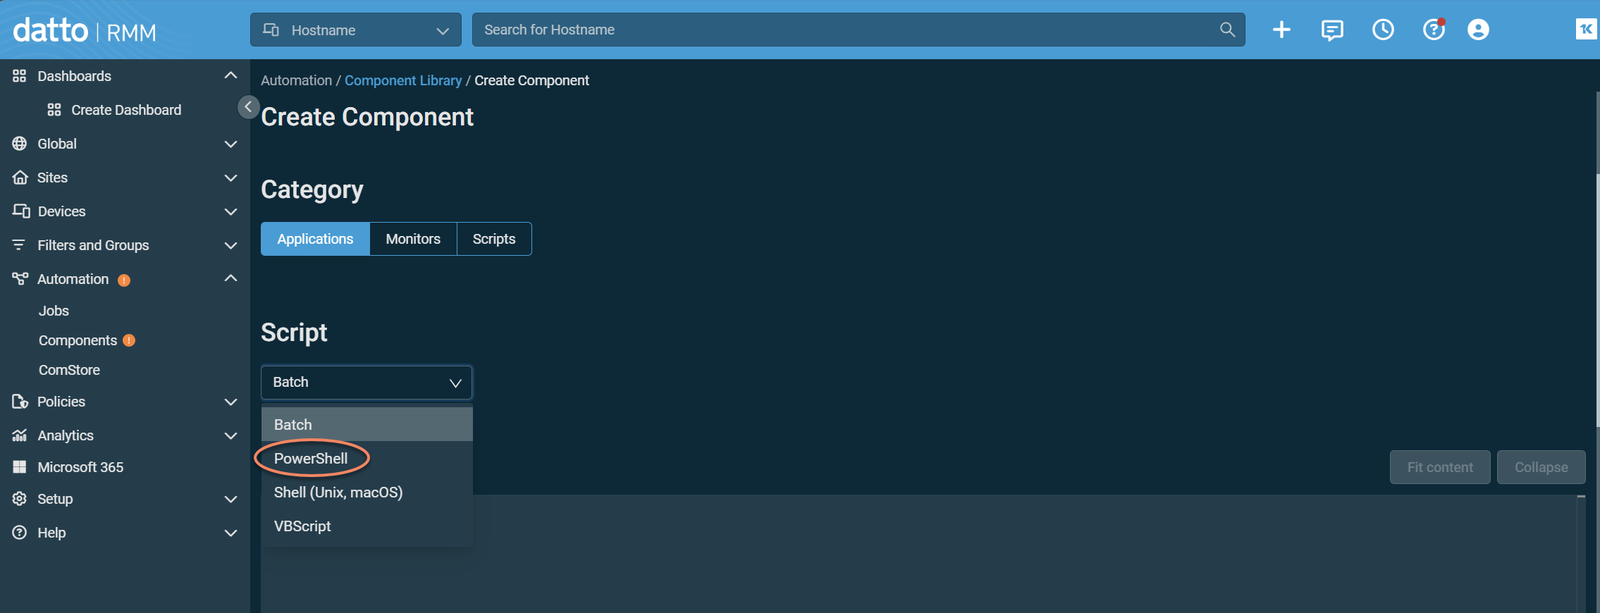
Open Automation → Components → Create Component.
Set Name to
Lemhi AI Usage extension - <Client>.Set Category to Scripts and Script type to PowerShell.
Paste the script you copied from Engage into the script body, unchanged.
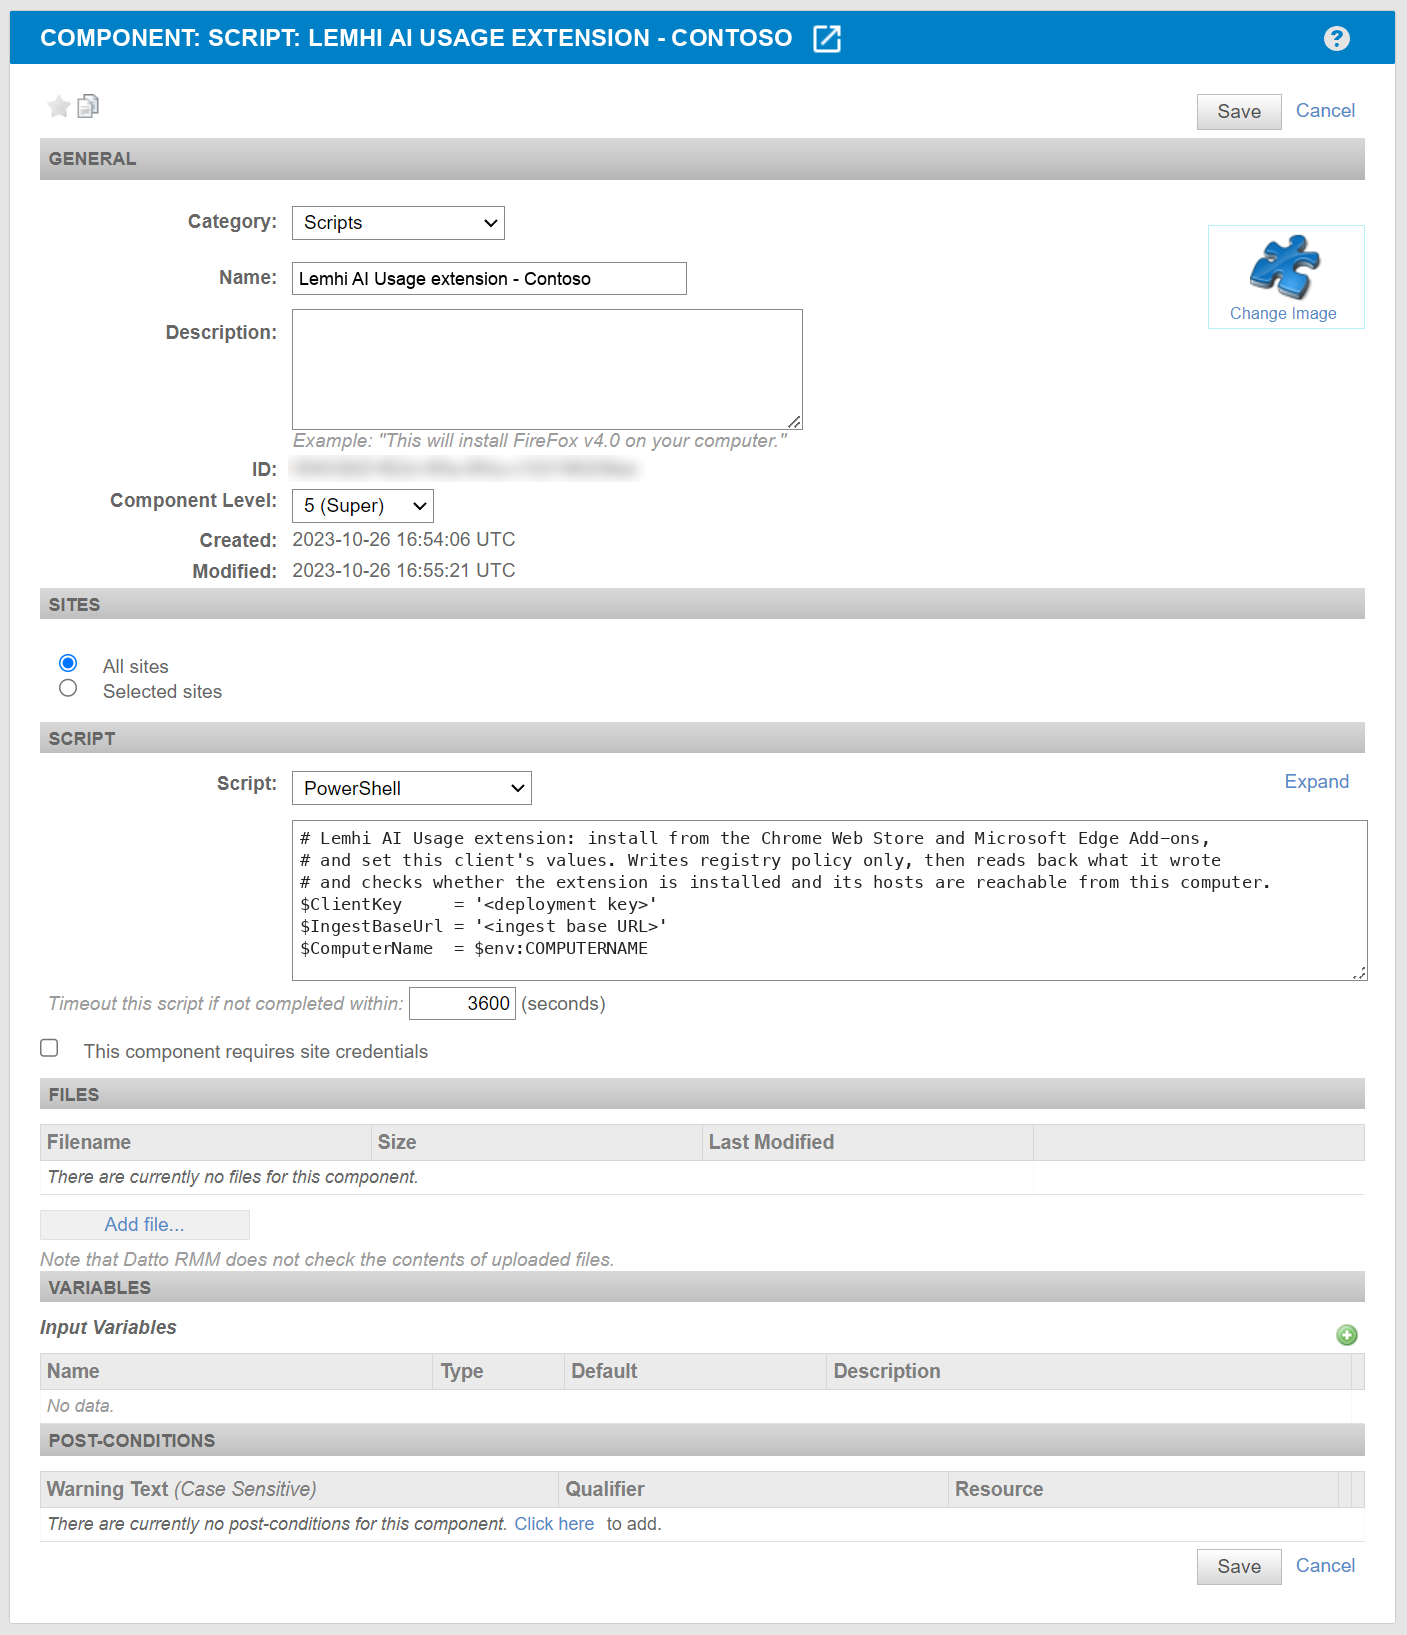
Click Save. No component variables are needed.
Pilot on one computer
Open the client's site, select one Windows device, and choose Run a Quick Job. Pick the component.
When the job completes, open the job result. It should show a success status.

Restart Chrome and Edge on that computer.
Within a few minutes it appears on the client's Deployment tab.
"Extension not installed yet" is expected until the browser restarts. A failed run (exit code 1) means the key isn't a valid Lemhi key, usually because it was mangled in the copy, or a value didn't read back. Copy the script from Engage again and re-run. If the run fails with does not match what this script wrote, something rewrote the policy keys while the script ran, such as Group Policy, Intune or another RMM job: see Computer doesn't appear on the Deployment tab.
Schedule it on the client
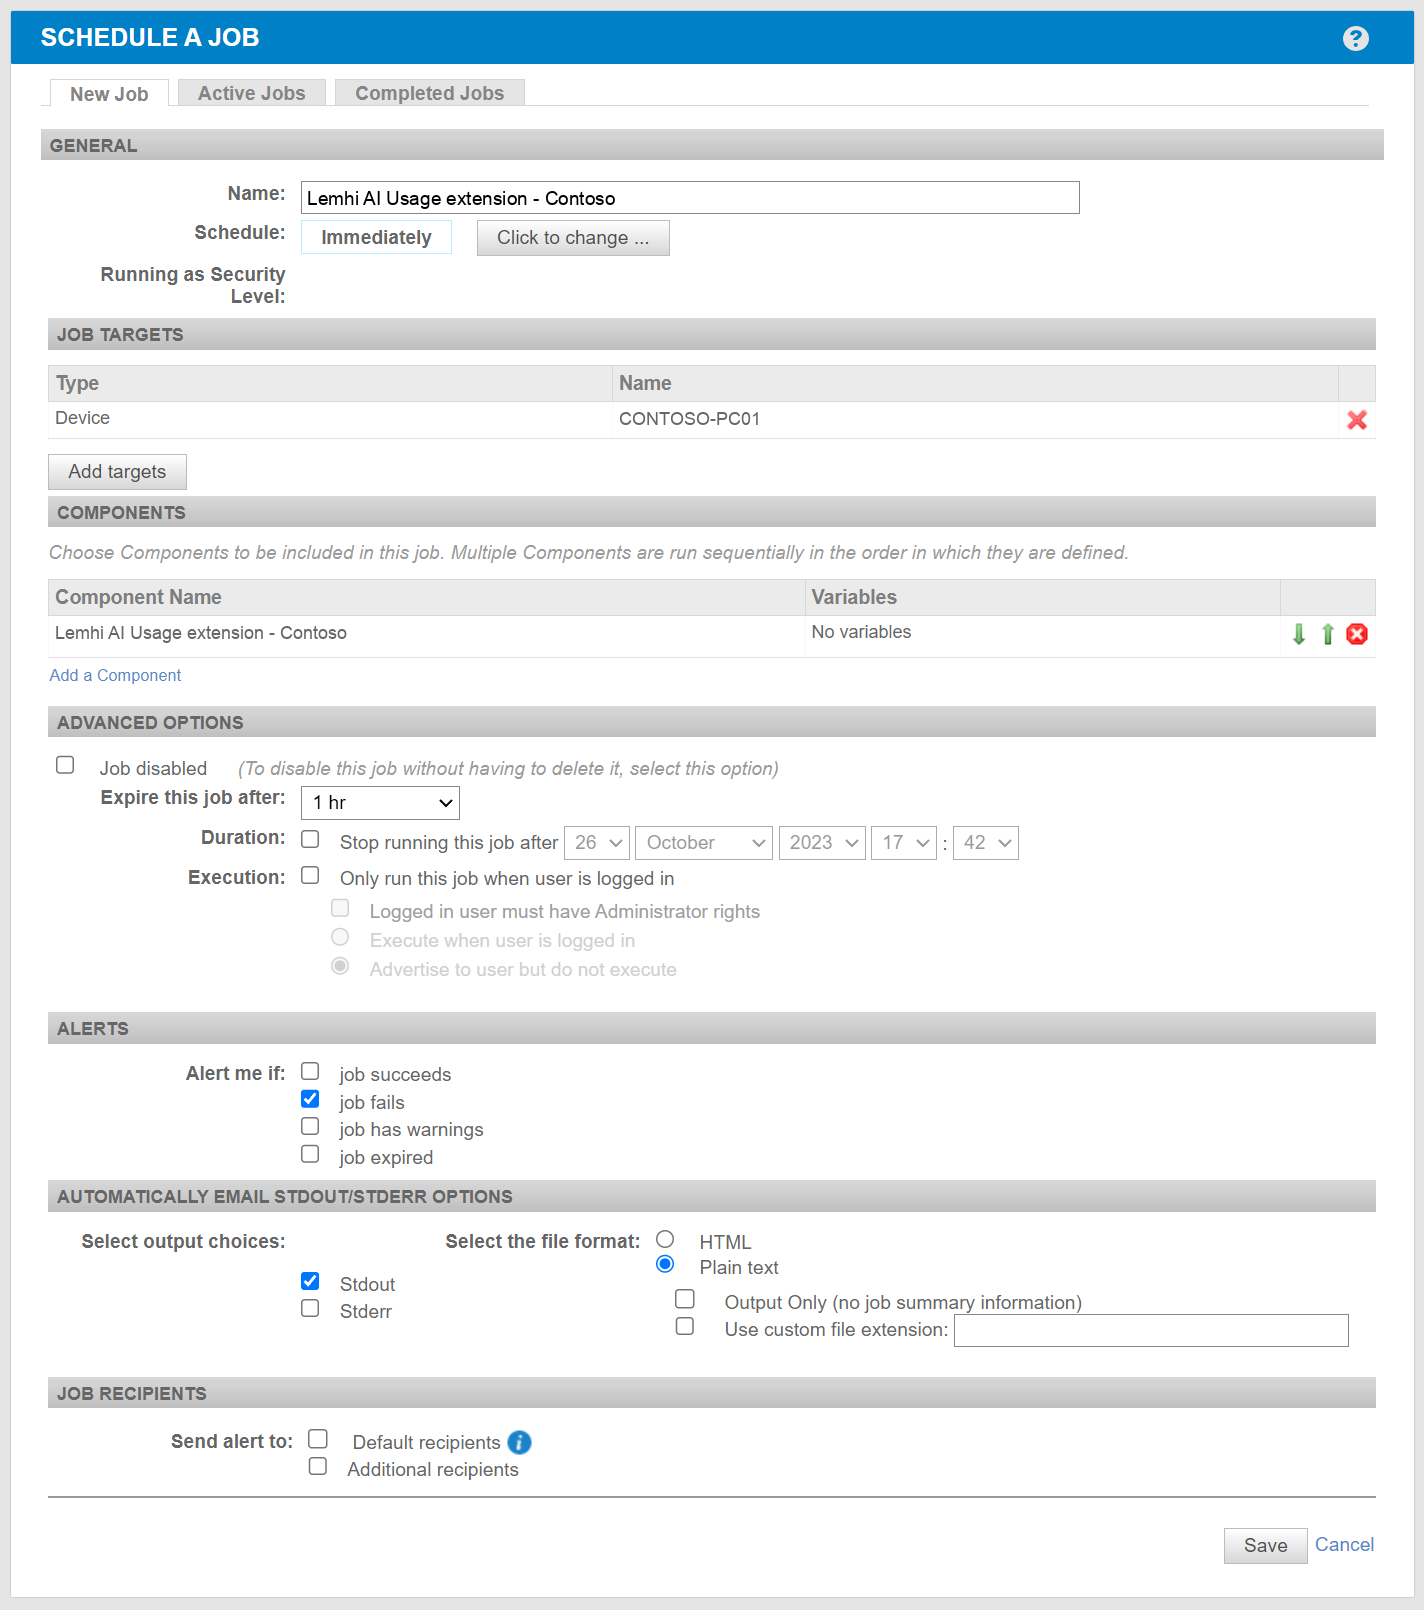
Open Automation → Jobs → Create Job (new UI).
Create a scheduled job on the client's site (all Windows devices) for this component.
Run it once now, then daily.
Re-runs are safe and heal the policy if it's removed. If you manage by policy, adding the component to a site-level scheduled job does the same thing.
Rotate the key or remove
To rotate the key, regenerate it on the Deployment tab, then click Copy script again: the copied script carries the new key. Paste it over the client's component script and run the site job now. See Rotate a client's deployment key.
To remove the extension: Delete or disable the scheduled job. Create a component from the removal script, which is the same for every client, and run it on the site. See Remove the extension from a client's computers.
Related
Was this helpful?
Still need help? Ask the team