Create the security role, API member, and keys in ConnectWise
Create a narrow security role, an API member, and a key pair in ConnectWise PSA so Lemhi can connect.
Written By The Lemhi Product Team
Last updated 1 day ago
For the MSP admin with System module access in ConnectWise PSA. When you finish, you have a security role, an API member, and a public and private key ready to enter in Lemhi.
Lemhi connects to your ConnectWise instance as an API member with a narrow security role you create. Everything in this article happens in ConnectWise PSA.
Step 1: Create a security role
The role gives Lemhi exactly the access it needs and nothing more.
In ConnectWise, go to System > Security Roles.
Select + (New Role).
Enter a Role ID, for example
Lemhi Compass API, and save.The role opens on Security Modules for Role: nine collapsible modules, where every row has four pickers (Add Level, Edit Level, Delete Level, Inquire Level). Every level starts at None.
Set these four required rows. Leave every other row in every module at None.
Save the role.
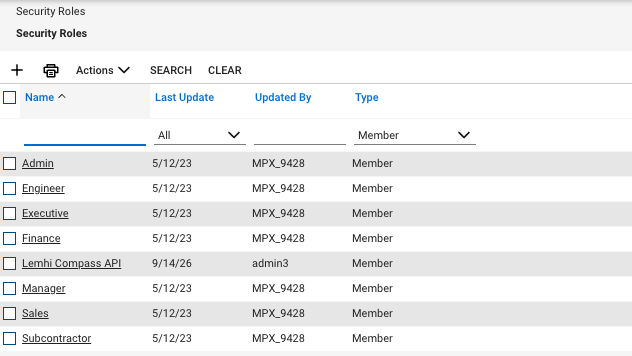
Check: The role saves without an error, and the four required rows above show the levels you set.
Set Inquire first. ConnectWise never lets a row's Add, Edit, or Delete level sit higher than its Inquire level. If you set Add before Inquire, the save fails with "Add, Edit and/or Delete levels cannot be at a higher access level than the Inquire level." Set Inquire = All on the row, then set Add and Edit.
Company Maintenance offers only None or All for Inquire. There is no My tier on that row. All is the value you want.
Service Tickets is one row, not three. It carries three levels. You are setting four required rows, or eight if you add the Project rows below.
Optional: Project permissions, to push tasks to ConnectWise projects
Skip this if you only want Compass tasks to become service tickets on a service board. Add these rows if you also want to push tasks to a ConnectWise project and phase. They are all in the Project module of the same role. Set Inquire first on each row.
Project Tickets is one row, not three. It carries three levels, like Service Tickets.
What each row lets Lemhi do
Already connected? Edit the role you created earlier and add the levels you are missing. You do not need to reconnect in Lemhi or create new keys.
Step 2: Create an API member
Go to System > Members.
Open the API Members tab and select +.
Fill in the member:
Save the member.
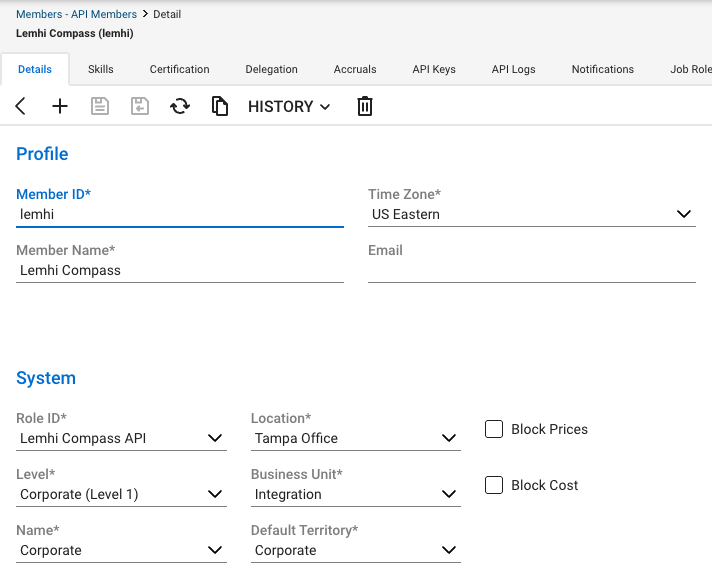
Check: The member appears on the API Members tab with the Step 1 role as its Role ID.
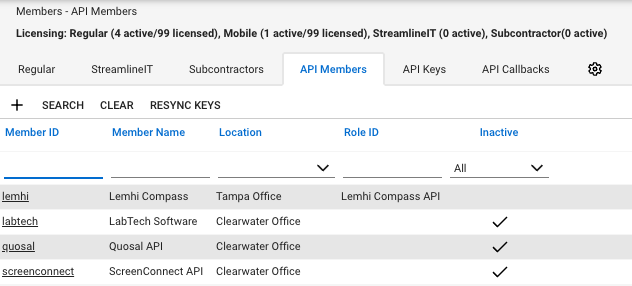
Set Location before Business Unit. The Business Unit list stays empty until you pick a Location that has business units. An empty list there is not a bug. Choose a Location, then come back to Business Unit.
Step 3: Create the API key pair
On the member you just saved, open the API Keys tab.
Select +, enter a Description (for example
Lemhi), and save.ConnectWise shows a Public Key and a Private Key. Copy both now.
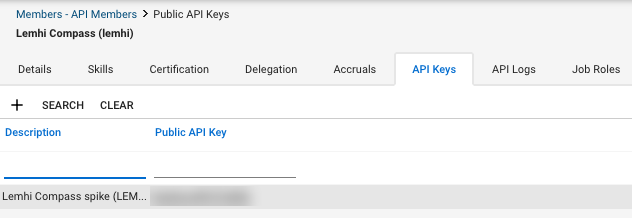
Check: You have two 16-character keys copied somewhere safe.
The private key is shown only once. ConnectWise says so on the page: "The private key is only available at the time the key is created." If you lose it, delete the key pair and create a new one.
Next
Check that your service boards have a default status and team
Related
Was this helpful?
Still need help? Ask the team